Hardy School
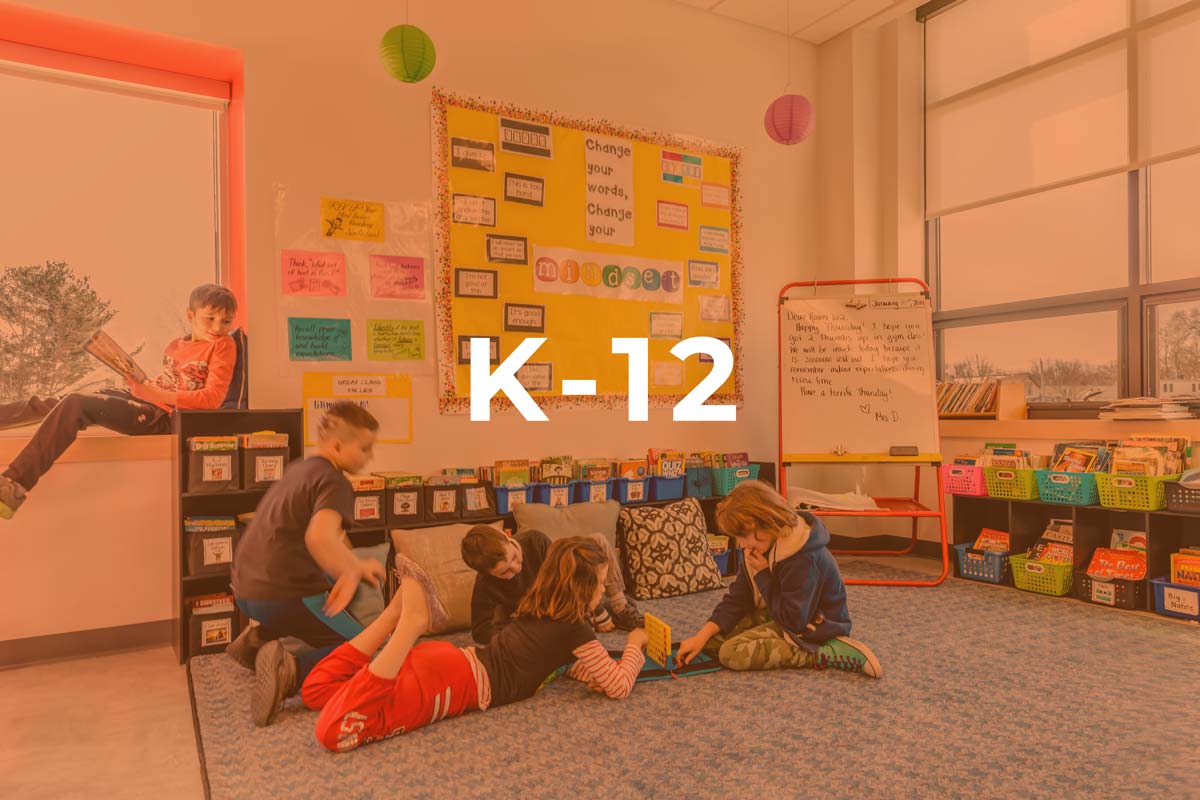
The Hardy School was a cutting-edge facility when it first opened in 1926; with a thoughtful intervention designed by Finegold Alexander, it remains so to this day. Record student enrollment propelled Finegold Alexander’s design for a new 3-story, 6 classroom addition. Programming and design took Arlington School District’s operational needs into account, with safety as a paramount consideration. Plans factored in the careful coordination of construction schedules; neighborhood traffic and pedestrian access; and noise abatement to minimize impact on the fully operational school. Project highlights include technology-rich, flexible classrooms; large projected windows that create interior seat nooks – the most coveted spot in the classroom; and a building-wide accessibility upgrade.
(Photo credit: Raj Das Photography)
“The Hardy School Community is excited about the completion of the additional six new classrooms as well as accessible upgrades throughout the existing facility. The school now allows us to fulfill our educational mission to support our school goals and provide for an ever-increasing student enrollment.”
Kate Peretz, Hardy School Principal
.jpg)
.jpg)
To accommodate the new addition, the adjacent playground equipment was reconfigured, a new playground was added, and landscape and site improvements were made. Community and parent focus group meetings were held throughout the design process to ensure all voices and ideas were heard.

“The expansion and renovations bring the Hardy School to a level on par with other school buildings in Arlington. The result is a well-integrated academic environment with improved classroom and outdoor play areas.”


